
It’s no secret that I LOVE Christmas. If I thought my hubby would allow it, I’d be decking the halls as early as September – the moment the first seasonal offerings hit the shop shelves. Sadly, he’s a little more reserved than me so I just have to wait until a little later in the season.
So, you can imagine my excitement when Country Baskets reached out to me with the lure of a Christmas crafts hamper all glistening and sparkling – with an invitation to join their Festive Face Off Christmas Craft Challenge. Ha, take that Hubs! Our house WILL sparkle and christmas decorations WILL adorn our walls, ahem, I mean, it’s all in the name of ‘work’, right? 
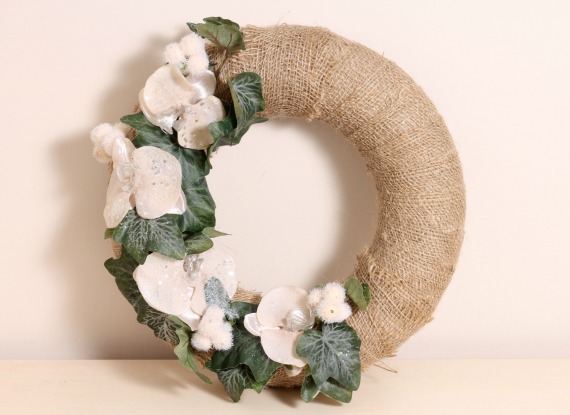
With a wonderful selection of Christmas craft materials to chose from, I decided to create a festive wreath.
To make a wreath like this one, you will need:
- 12″ polystyrene wreath form
- Fabric to cover (I used 3 x 4 inch strips each 96 inches long)
- Selection of seasonal foliage and flowers
- Decorative picks
- A pretty bow
- 2 wooden stars
- A sparkly butterfly / decoration of your choice
- Wire snips to trim your foliage
- Florist wire to fasten
To make this wreath, I have chosen to use a hessian / burlap style fabric that came in my hamper – but you can chose any fabric design to make your own wreath.
Cut your chosen fabric into strips approximately 4 inches wide and wrap around a polystyrene wreath form to cover.
Top Tip: If using a hessian / burlap style fabric, pull and remove a single strand from the length of your material, approximately 4 inches from the edge. This will create a ‘run’ and will make it visually simple to cut in a straight line.
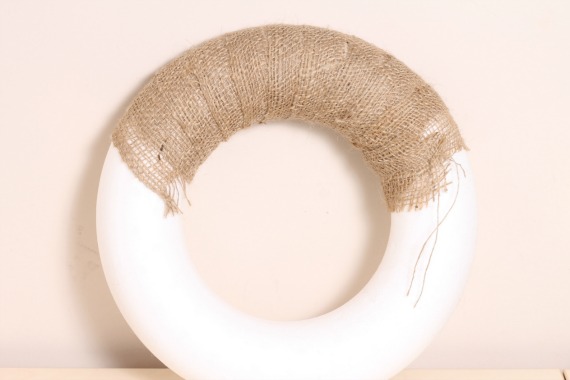
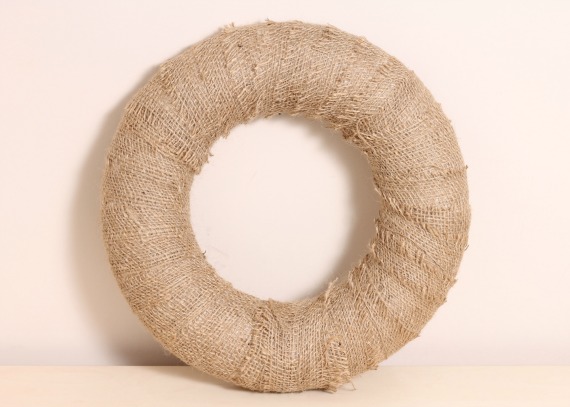
Wrap your wreath frame, overlapping your fabric so that none of the polystyrene shows though. Continue all the way round.
With this fabric type, there is no need to glue or pin. Simply overlap the ends and fasten the last piece by tying a lose strand of string around to secure.
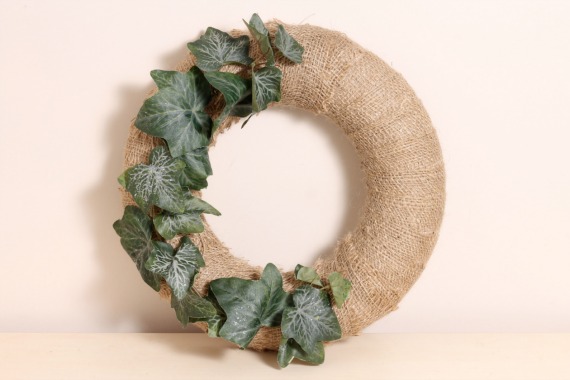
I chose to decorate my wreath with some beautiful seasonal foliage.
If your foliage comes on a stem, use some wire snips to trim off the individual stems. Play around and lay out until you find an arrangement you like.
To fasten your foliage to your wreath, take a small length of florist wire, bend to form a little hook on the end and push into your polystyrene wreath frame.
This is a great alternative to glue since you can reposition easily if you are not happy with the final placement. (Did I mention I am sooo indecisive?)
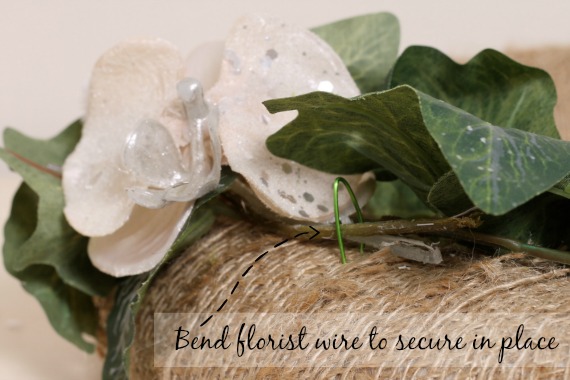
Continue to pin your foliage around your wreath and begin to layer with some flowers.
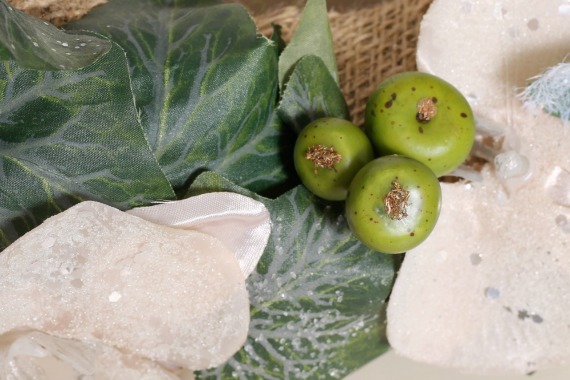
Fill any gaps with decorative accents like these green apple picks.
I love the detail on those – they are so pretty.
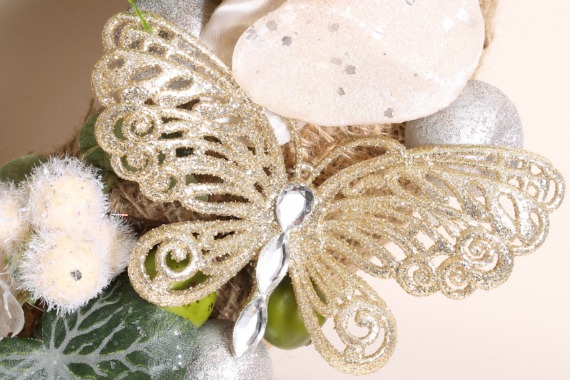
Since I adore all things that glitter and sparkle, I couldn’t resist adding this gorgeous butterfly. It was supposed to be for my tree, but oh well!
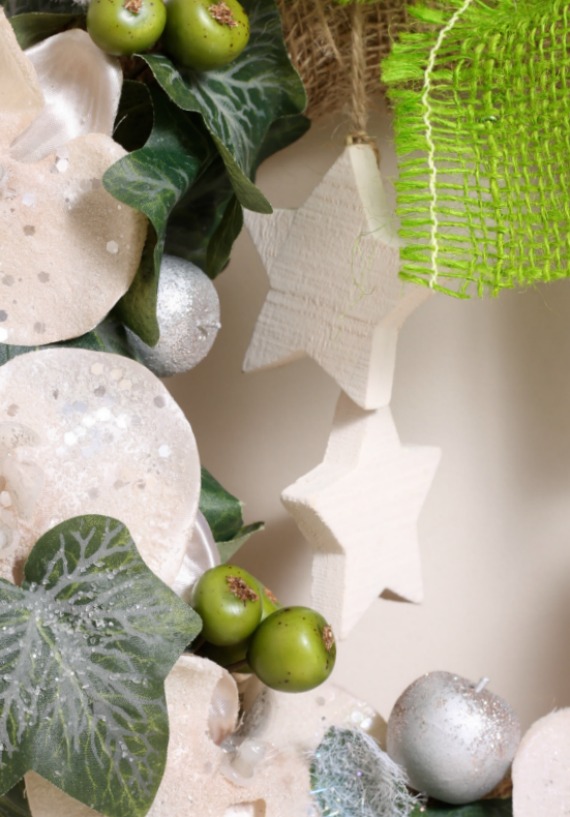
… and I added two wooden, hanging stars. Make a wish!
You know that saying, “Less is more…?”
No? Me neither! Keep. On. Adding. Sparkles. 
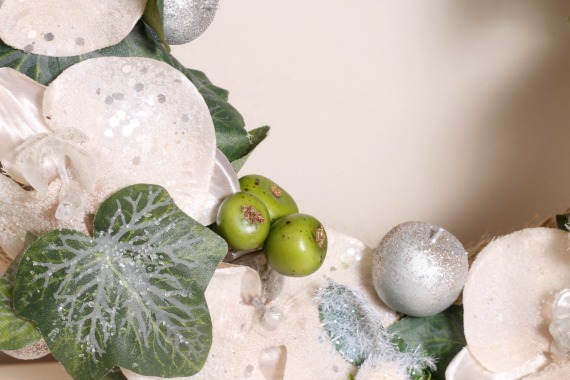
The wonderful thing about festive wreaths is that you can so easily customise them to the colours of your home. The only difficulty you will have is deciding where to hang it…
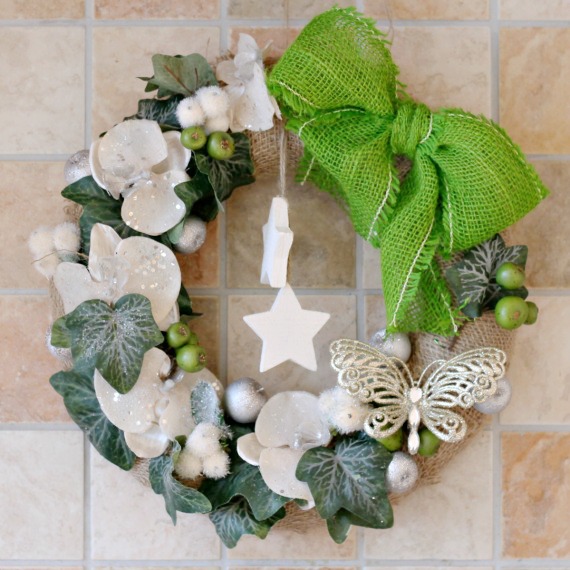
Festive wreath hanging in my kitchen…

Festive wreath hanging in my home office… (I just love this wreath. I think I’ll keep it here).
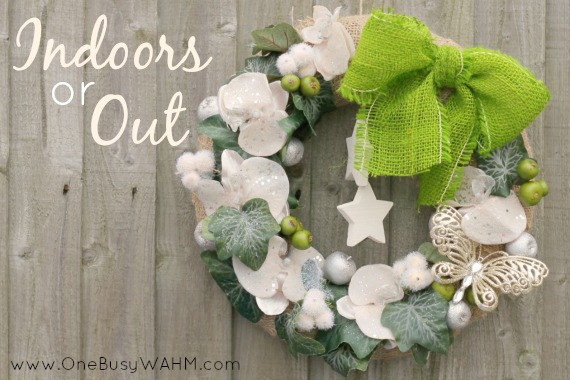
Festive wreath for the garden. A wonderful greeting for visitors this season.
To me, wreaths just sing “Christmaaaaas!”
This one is more classic though. A piece that would not look out of place in your home or garden, long after Santa has been and gone.
Why not have a go and make your own. It’s so simple to do and so much fun. Hop on over to Country Baskets for some craft supplies – they have everything!
Onward to Christmas, my loves! Are you ready for it?
~ Natalie
 Disclosure: I received a Christmas crafts hamper from Country Baskets (thank you!) to facilitate this post. All thoughts, ideas and photographs published are entirely my own.


 Has Christmas Gone Crazy?


I can’t believe how easy that was to make! I’ve never made a burlap wreath before.
Love that! It would look great with a red bow too!
Absolutely! I love that it is so easy to customise this wreath according to the season or your home decor!
How easy. I have been looking for a few ways to make wreaths to give as Christmas presents. Thanks for sharing!
Natalie, this is so pretty!! I love it! I could probably make a wreath if I had a guide like that
Aw, thank you Jenn!
I’m not crafty but I think I could handle this. Thanks for the great tutorial.
Dee, this wreath tutorial is more of a guide. You can ‘freestyle’ your design and there truly is no right or wrong. Have fun with it
This is on my list to make for christmas! I love burlap!
I had so much fun making this. A burlap wreath has been on my ‘to-do list’ for way too long!
That is so pretty and really simple to make. I love how the wreath is made! Good luck!
Love the color choices! Looks very country chic.
Love the color choices! Looks very country chic!
This is so pretty. You did a lovely job.
So pretty! Great job!
What a pretty wreath! I love making wreaths, it’s so much fun!
Wow, this is absolutely gorgeous. I love that it is non-traditional from eerything we see at Christmastime. Beautiful job!
Natalie, that is such a pretty wreath and your tutorial on it is great! Love the colors you picked to use.
I’ve never used burlap for anything, but that is gorgeous!
Hiya, I no its a little early to be talking about xmas but ive just seen your “Xmas Wreath” Im definitely going to be making one of these for my front door. I will post a picture nearer xmas time. JO
Hi Jo!
No, no, no – it’s NEVER too early for Christmas
Have fun with your wreath – come back and share a photo on my FB wall!