
When I asked Thomas if he’d like me to make a Lego cake for his birthday, I guess I should have been more specific with my offering.
Whilst I had envisioned a nice and simple rectangular Lego brick cake, Thomas it seemed, had his mind set on a full-bodied Lego ninja mini-figure. (Yikes, ain’t gonna happen, son!)
Whilst I adore his total faith in my cake making abilities, I knew that unless I did some quick negotiation, I’d be landing myself in a hot mess.
Cue: Lego mini-figure head cake!
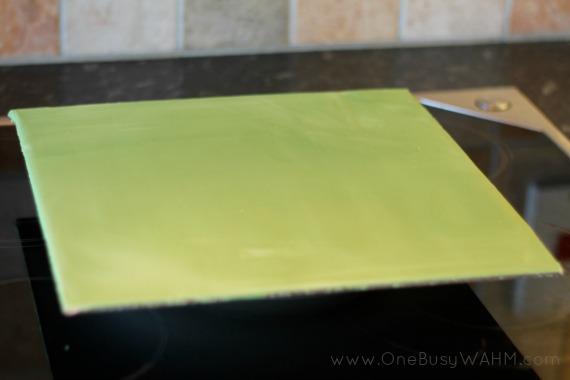
We decided to decorate our cake board to look like a Lego base-plate. Now, this part I could handle – it was super easy!
- Lightly brush the cake board with water and cover with some green fondant icing, rolled out to size.
- Just trim the edges with a knife, just like you would a pastry pie topping.
- Decide approximately where your Lego cake will sit on the board and mark this out. (This will help later when you come to place your cake). I used an empty cake pan to leave a light impression.
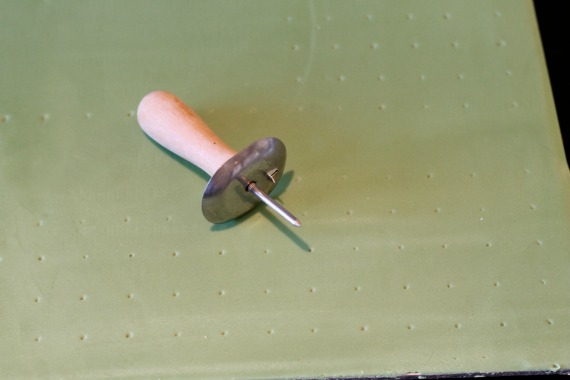
- Using a corn fork or other prick, lightly mark your fondant in a grid pattern 1.5 cms apart. This is where you will place your Lego brick studs.
- Using your favourite sponge cake recipe, bake 6 cakes.
- I used the same recipe here as I do for my cake pop batter. To give you a guide for increasing your quantities – I used 3 eggs for every 2 cake pans (9 eggs in total).
- When your cooked cakes have cooled, carefully use a cake leveller to ensure they are all even and flat.
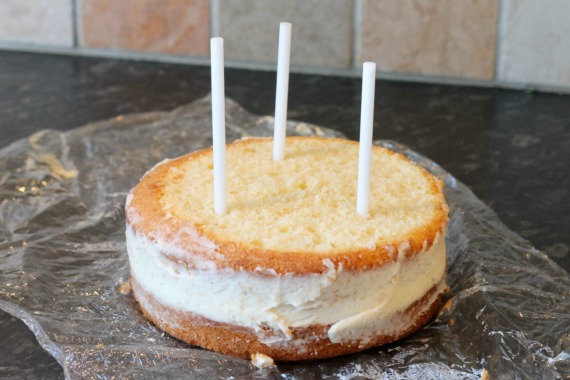
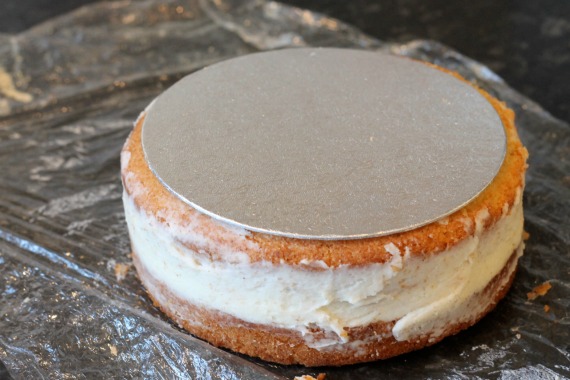
Because of the height / weight of the cake, there is a risk that that cake will collapse under its own weight, or begin to bulge out at the sides. Not a good look. To stop this from happening, halfway through your cake construction, insert some cake dowels trimmed level with the top of the cake, and top with a cake card
Remember to level each cake as you go to avoid a ‘Leaning Tower of Pisa‘ Lego cake!
(You can buy a handy cake leveller tool for just a few pounds that makes this task so easy!)
Using a large round cookie cutter, cut a circle from your 6th baked cake. This forms the stud on the top of your Lego minifigure head.
Lightly cover your cake tower with buttercream (250g butter, 500g icing sugar, splash of milk to soften) and fill any gaps between the layers to ensure the sides are smooth and straight.
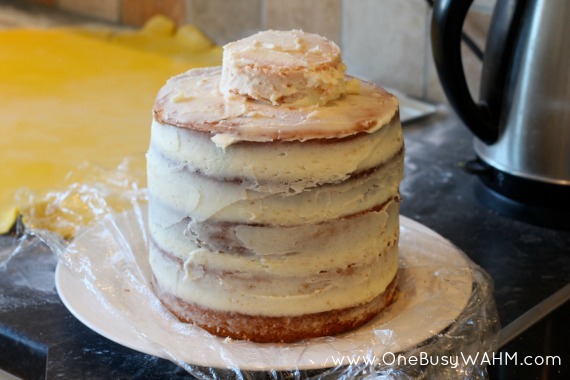
- Roll out a quantity of yellow fondant icing to a size sufficient to cover your cake. You will need as a minimum 2 x height + width of your cake.
- Gently place your rolled fondant on top of your cake and smooth out to remove any air bubbles and wrinkles. Trim off any excess.
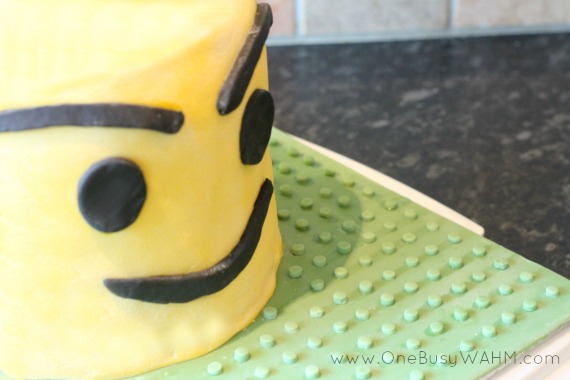
- To make the Lego mini-figure face, cut shapes free-hand out of black fondant. Moisten the back with a little water and stick into position. (A large piping nozzle makes a great template for cutting out the eyes). If you prefer, you could use a paper template to cut around.
- Using two large spatulas and a steady hand, gently position the cake head onto your board.
- The little green Lego studs were also made from green fondant using a small plunger-style cutter.
- To attach, use a small clean paint brush and lightly moisten the base with water before sticking into position.
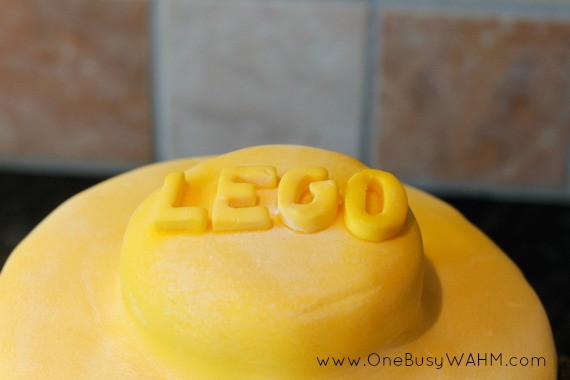
If you have a set of alphabet cutters, you can also add the Lego logo in yellow fondant as one final feature.
The finished result wasn’t as perfect as I would have liked but it was a great learning experience and I had so much fun making this Lego cake.
Most importantly, Thomas loved it!
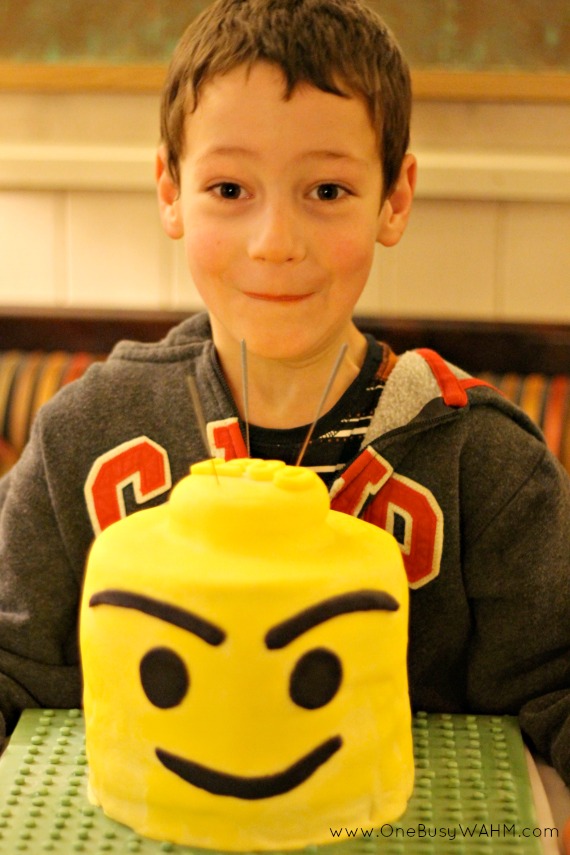
Happy 7th birthday my sweet darling son!

If you’ve ever wanted to make a Lego cake but have been too afraid to try – give it a go!
It was far easier than I thought it would be – and with 6 layers of cake, it was enough to feed everyone!
~ Natalie
PS. Does anyone want to come clean the icing sugar cloud from my kitchen?
 A Very Happy Birthday Cake
 Pocket Money
 Lego: 1 – Housework: 0


Looks brilliant! And hats off to you for punching out all the little discs for the Lego studs. I have had to do similar punching out stars – it’s a labour of love lol!
Some really great cake building tips as well! I can’t help with the icing cloud though 😛 xx
Thanks, Michelle! And yes, most definitely a labour of love. I think I got carried away though, and ended up with about 100 too many – the kids thought it was great having edible Lego confetti to play with!
Natalie I love this cake!! I am in the throws of deciding what to do for the boys cakes for next year…I have to plan early as got birthdays in April, May and June!! Xxx
Wow, you are going to be busy! If you decide to make a Lego cake, let me know. I have all the cutters and shapes here which you are welcome to borrow!
This is so cute! My boys would love this!
I love this cake, and my son wants something similar. My concern is how to serve it, though. I’ve only done fondant on a multi-tiered cake where the tiers were fondanted individually, so you could lift one tier off and serve it separately. What happens when you cut down through the first two layers and hit the cardboard cake disk but the bottom half of the cake still has the fondant on it. Can you cut of one layer at a time? Will the fondant on the lower layers collapse once the top is cut?
Hi Kathy!
If you smooth your hand down the outside, you can gently feel where the layers are. I slice horizontally through the cake to separate the halves, serving the top half to guests and keeping the bottom layer for another time.
The fondant on the lower layer doesn’t collapse as it is ‘stuck’ in place with a light coating of buttercream.
It really is a fun cake to make. I’d love to see yours! Please feel welcome to come share it over on my Facebook Page –> http://fb.com/OneBusyWAHM